A red dot is only as good as its zero. Out of the box your optic is pointed wherever the factory left it, which is rarely where your rounds land, so before that new sight is worth anything, you have to make the dot and the bullet agree. The good news is that zeroing is a simple, repeatable process: get roughly aligned without firing a shot, confirm with a few live rounds, do a little arithmetic, and lock it down.
In this guide we will walk through the whole thing: bore sighting to get on paper, choosing a zero distance that actually fits how you shoot, the step-by-step process at the range, the click math that trips up a lot of new shooters, and the common mistakes that send people home with a dot that still does not track. The same fundamentals apply whether you run a dot on a carbine, a pistol, or a shotgun; the only thing that really changes is the distance you pick.
A quick safety note before anything else: treat every firearm as loaded, keep it pointed in a safe direction, and physically confirm the chamber is clear before you touch a mount or an adjustment turret.
Bore Sighting
Bore sighting is how you get “on paper,” close enough that your first live group lands on the target instead of in the dirt. It does not finish the job, but it saves a frustrating amount of ammo and walking downrange.
There are two ways to do it. A laser bore sighter drops into the chamber or muzzle and throws a dot on the target; you simply adjust your red dot until its reticle sits on top of that laser dot at 10 to 25 yards. The old-school visual method works on any rifle you can see through the bore: with the action open and the gun rested rock-steady, look down the barrel and center the bullseye in the bore, then, without moving the gun, bring your red dot’s reticle onto that same bullseye using the windage (left/right) and elevation (up/down) adjustments. Pistols and most semi-autos you cannot easily look through, so a laser bore sighter is the practical choice there.
Either way, the goal is modest: get the dot and the bore pointing at roughly the same spot. Do not obsess over perfection here, because a bore sight only confirms where the optic is aimed, not where the bullet actually goes once barrel harmonics, ammo, and gravity get involved. That is what live fire is for.
Choosing Your Zero Distance
This is the decision people overthink, so here is the short version: pick the distance that makes your point of aim match your point of impact across the ranges you actually shoot.
For a rifle or carbine (think AR-15 in 5.56), the popular choices are 25, 36, and 50 yards:
- 50-yard zero (the “50/200”). The bullet crosses your line of sight at 50 yards on the way up and again near 200 yards on the way down. In between it stays within about two inches of your point of aim the whole way. For most red-dot carbine shooters this is the most versatile, do-everything zero, which is why it has become the default recommendation.
- 36-yard zero. A near-point-blank setup that, with many 5.56 loads, re-zeros at roughly 300 yards. It flattens the steep holdovers a short zero creates and keeps a simple multi-purpose rifle dead-on across a wide band of practical distances.
- 25-yard zero. Fast and easy to set up on a short range, but it sends rounds high at intermediate distance (typically an inch or two high at 50 to 100 yards) and forces more holdover the farther out you go. It is fine for close, defensive work but the least forgiving at distance.
A carbine optic like the Sig Romeo5 or the Aimpoint Micro T-2 is a natural fit for the 50/200.
For a pistol, the window is much shorter and so is the useful zero. A 15-yard zero is the best all-around choice: the bullet’s arc only rises about two-tenths of an inch at the top and stays inside a practical two-inch window well past typical defensive distances. A 10-yard zero is simpler and good for new shooters or close-range training, but it has a hidden trap: at very close range, small errors are too tiny to see on the target, so a “perfect” 10-yard zero can actually be off in a way you will not notice until you shoot farther out. Whichever you choose, refine your windage carefully. Pistol dots like the Trijicon RMR, Holosun 507C, and Vortex Venom all zero the same way; the distance is the only real variable.
Step-by-Step at the Range
With the gun bore sighted and a distance chosen, here is the live-fire sequence.
- Set up a stable rest. A bag, bipod, or bench eliminates wobble so you are testing the gun and optic, not your offhand hold. The steadier the platform, the cleaner your data.
- Fire a three-to-five-shot group. Aim at the exact same point every time. Do not adjust between shots and do not chase individual hits; you want a group, because the center of the group is where the gun is really printing.
- Measure the offset. Find the center of your group and measure how far it sits from your point of aim, in inches, both horizontally and vertically. That measurement is the input for your adjustment.
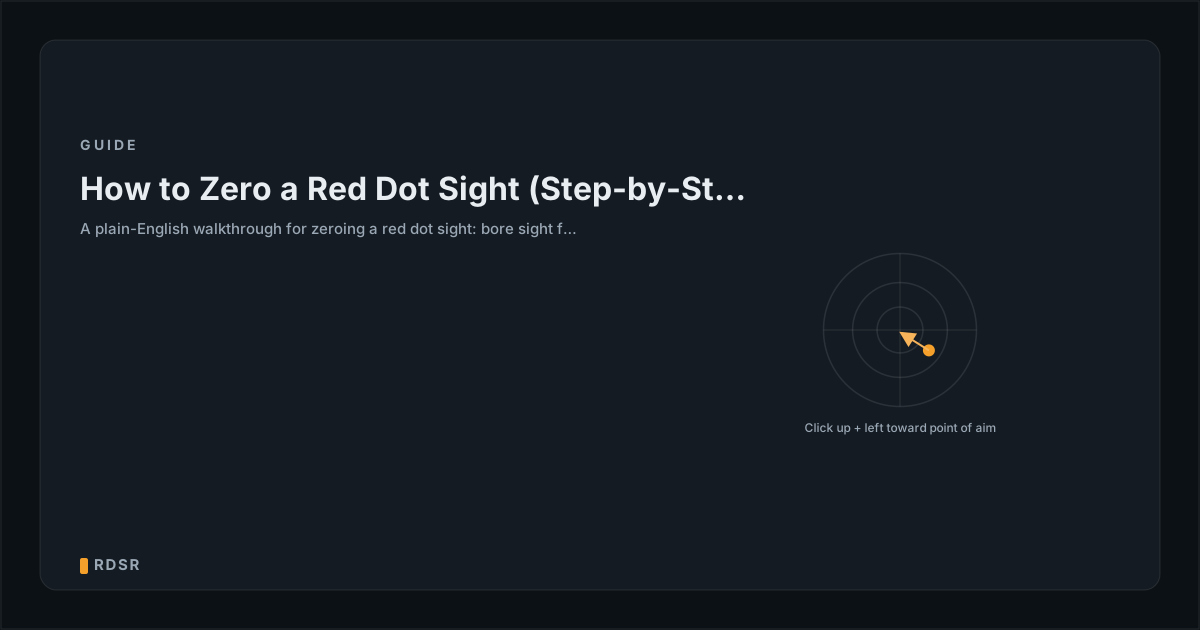
- Adjust the turrets. Move the dot toward the bullseye. The turrets are marked with arrows and direction (UP/R for elevation and windage); if your group landed low and left, you will dial UP and RIGHT. We will cover how many clicks in the next section.
- Fire a confirmation group. This step is not optional. Shoot another three-to-five-shot group at the same point of aim. The center should now sit on or very close to the bullseye. Fine-tune with smaller corrections if needed and confirm again.
- Lock it down. Once the group centers up, snug the adjustment caps and make sure the mount is torqued to spec with thread locker on the screws so recoil and handling do not walk your zero off.
Adjustment Math
This is where the clicks come in, and the whole thing rests on one idea: Minute of Angle (MOA). MOA is an angular measurement: one MOA spreads out to roughly one inch at 100 yards. Because it is an angle, the inch value shrinks as the target gets closer. So one MOA is about:
- 1 inch at 100 yards
- 1/2 inch at 50 yards
- 1/4 inch at 25 yards
Most red dots adjust in either 1 MOA or 1/2 MOA per click (check your manual; some are 1/4 MOA). Combine the click value with your distance and you get how far one click actually moves your impact:
| Click value | At 25 yd | At 50 yd | At 100 yd |
|---|---|---|---|
| 1 MOA | ~1/4 in | ~1/2 in | ~1 in |
| 1/2 MOA | ~1/8 in | ~1/4 in | ~1/2 in |
The formula is simple:
clicks = (inches you are off) ÷ (inches one click moves at your distance)
A worked example. Say you are zeroing at 50 yards, your sight clicks in 1/2 MOA, and your group landed 2 inches low and 1 inch right. At 50 yards each 1/2 MOA click moves impact about 1/4 inch. Elevation: 2 ÷ 0.25 = 8 clicks up. Windage: 1 ÷ 0.25 = 4 clicks left. Dial those in, fire a confirmation group, and you should be centered.
Two reminders that prevent most click-math errors. First, the inch-per-click figure changes with distance: the same sight that moves 1/4 inch per click at 25 yards moves a full 1/2 inch at 50 yards, so re-figure if you change ranges. Second, follow the turret arrows; manufacturers mark the direction the impact moves, and getting that backwards will double your correction in the wrong direction.
Common Mistakes
- Chasing single shots. Adjusting after every round means you are reacting to your own flinch and random spread, not the gun’s actual zero. Shoot a group and adjust off its center.
- Skipping the confirmation group. The most common reason a “zeroed” dot is not actually zeroed: people dial their correction and pack up without firing the group that proves it worked.
- Using the wrong click value. Assuming 1 MOA when your sight is 1/2 MOA (or vice versa) puts every correction off by double or half. Confirm the value in the manual before you touch a turret.
- Forgetting that inches-per-click scale with distance. The math at 25 yards is not the math at 50. Re-calculate when you change ranges.
- A loose mount or no thread locker. If the optic can move, no zero will hold. Torque the mount to spec, use the recommended thread locker, and re-check after a range session.
- Zeroing too close and never re-checking. Tiny errors hide at short range and bloom at distance, so refine your windage and reconfirm your zero periodically, since recoil, holstering, and wear all shift a dot over time.
- Bad fundamentals masquerading as a bad zero. If you cannot shoot a consistent group, no zero distance will fix it. Get the group tight first, then zero.
Zeroing a red dot is not complicated once you see the shape of it: bore sight to get on paper, fire and adjust off the center of a group, do the click math for your distance and click value, confirm it, and lock it down. Pick the zero distance that matches your gun and your shooting (50 or 36 yards for most carbines, 15 yards for a pistol) and you will have a sight you can trust to put rounds where the dot sits. If you have not settled on an optic yet, start with our red dot reviews and our buyer’s guides to find one worth zeroing in the first place.